IMPORTANT: COMPATIBILITY REQUIREMENTS
The Unihub range has specific compatibility requirements, as follows;
Wheel offset:
this is extremely important, and only wheels with the offsets below may be used. Wheel manufacturers will sometimes express this measurement as “ET”, i.e. ET10.
» For 1.8T Unihub, with 39mm shaft;
- zero to +10 offset.
» For 3.0T Unihub, with 42mm shaft;
- zero offset
Spigot fit:
the centre bore of wheels are a neat fit with the nose of the Unihub range, which centres the wheel on the hub, and ensures wheelnuts seat correctly during fitment. Wheel suppliers will sometimes express this measurement as a “CB”, i.e. CB 81.3. Note: Spigot fit is not critical, but is required for the Trailparts 3 year warranty to apply.
» For 1.8T Unihub, with 39mm shaft;
- 81.2mm nose for use with 81.3mm centre bore wheels, usually 13” and 14“ 5 stud.
- 106.1mm nose for 106.2mm centre bore wheels, usually 6 stud wheels ≥15”
» For 3.0T Unihub, with 42mm shaft;
- 106.1mm nose for use with 106.2mm centre bore wheels, usually 6 stud wheels ≥15”.
- 109.9mm nose for use with 110mm centre bore wheels, usually 5x150mm Landcruiser wheels ≥15”.
Unihub Components
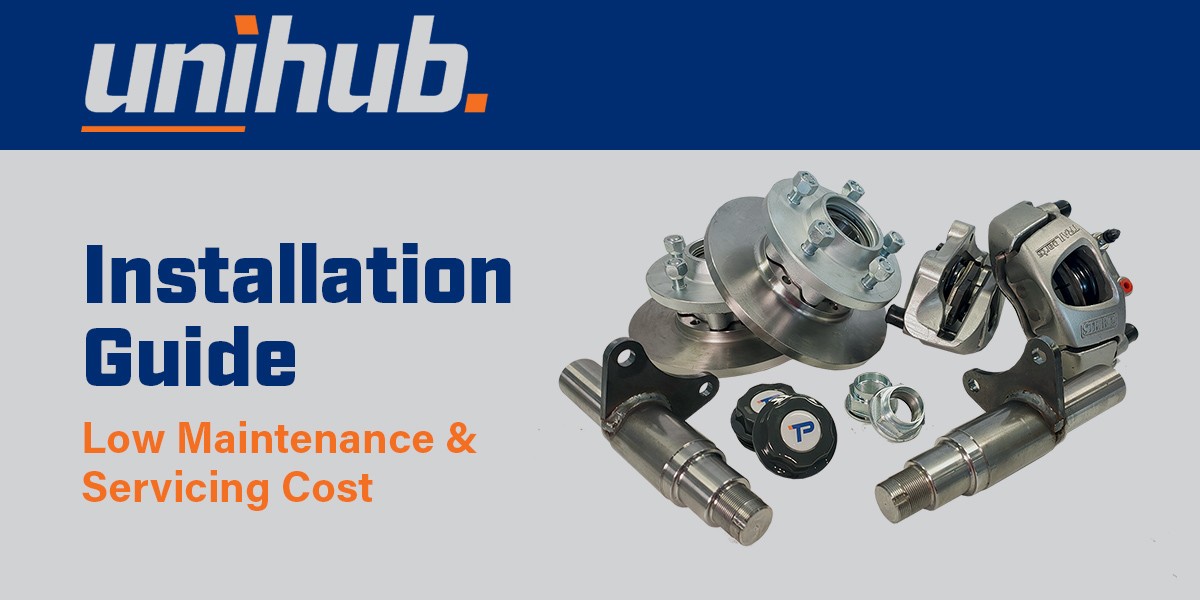
The Trailparts Unihub range is a quantum leap for trailer manufacturers in New Zealand and Australia, moving on as it does from outdated taper-roller bearing configurations, and offering lower maintenance and better durability.
Trailparts has developed these hubs and the parts used in them specifically to suit trailer designs already in production and using common components already being fitted. Installers and fitters are responsible to ensure when specifying and building trailers using the Unihub range that any Non-Trailparts components fitted around them are fully compatible.
Unitary Bearings
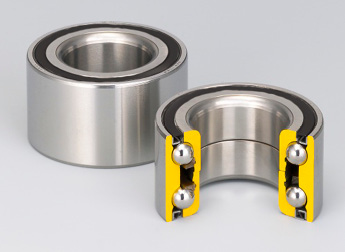
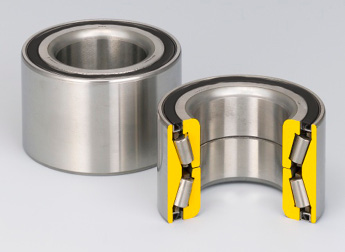
Bearings fitted to these hubs are non serviceable, sealed-for-life units. They are assembled in factory pre-loaded and pre greased. Both bearing options have integral dual lip oil seals.
» For 1.8T Unihub -
these are a deep groove dual row angular contact unit bearing, with 72OD x 37W x 39ID dimensions. When used in compatible wheels, 1.8T Unihub assemblies have a static load safety factor of 5.3x, and a dynamic load safety factor of 4.6x. Trailparts part number is HU3901.
» For 3.0T Unihub -
these are a dual row taper roller unit bearing, with 82OD x 40W x 42ID dimensions. When used in compatible wheels, 3.0T Unihub assemblies have a static load safety factor of 8.7x, and a dynamic load safety factor of 6.3x.Trailparts part number is HU3902.
Circlip
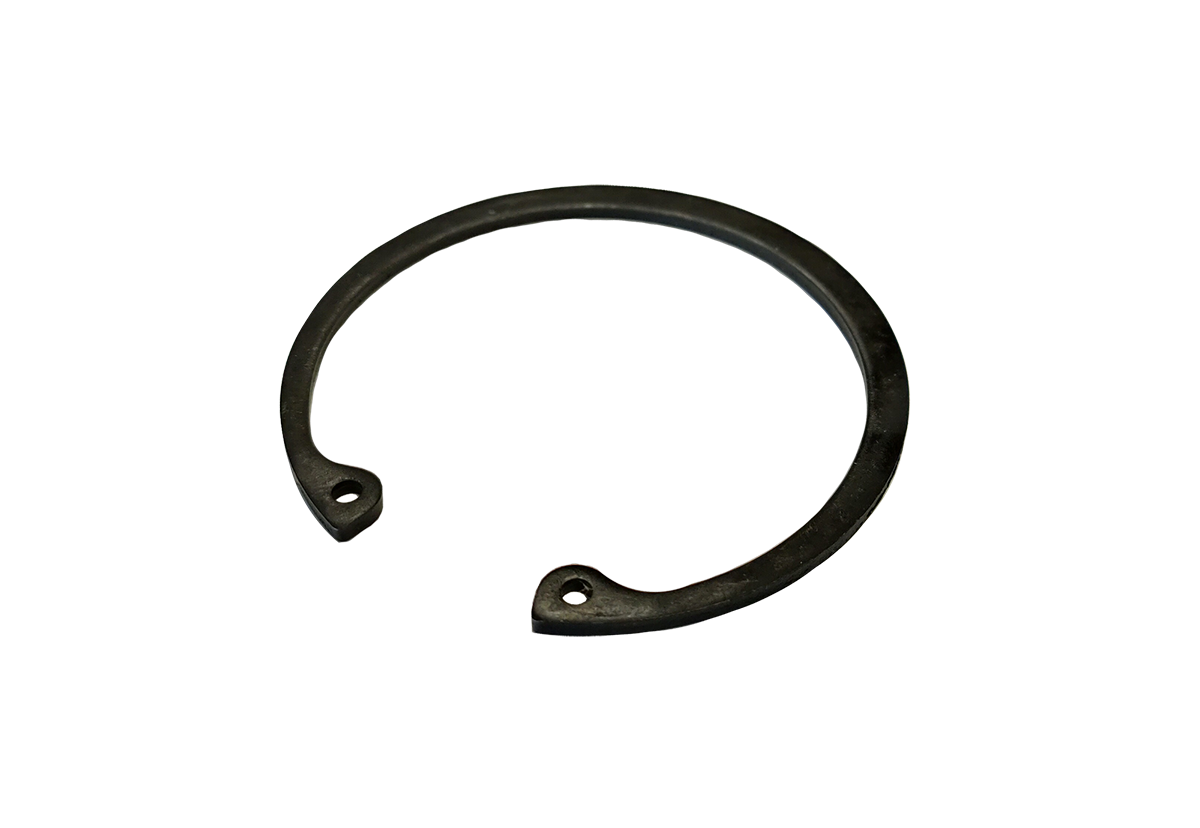
Bearings are retained in the hub using heavy duty circlips.
» For 1.8T Unihub -
size is 72mm. Trailparts part number is AU3911.
» For 3.0T Unihub -
size is 82mm. Trailparts part number is AU3912.
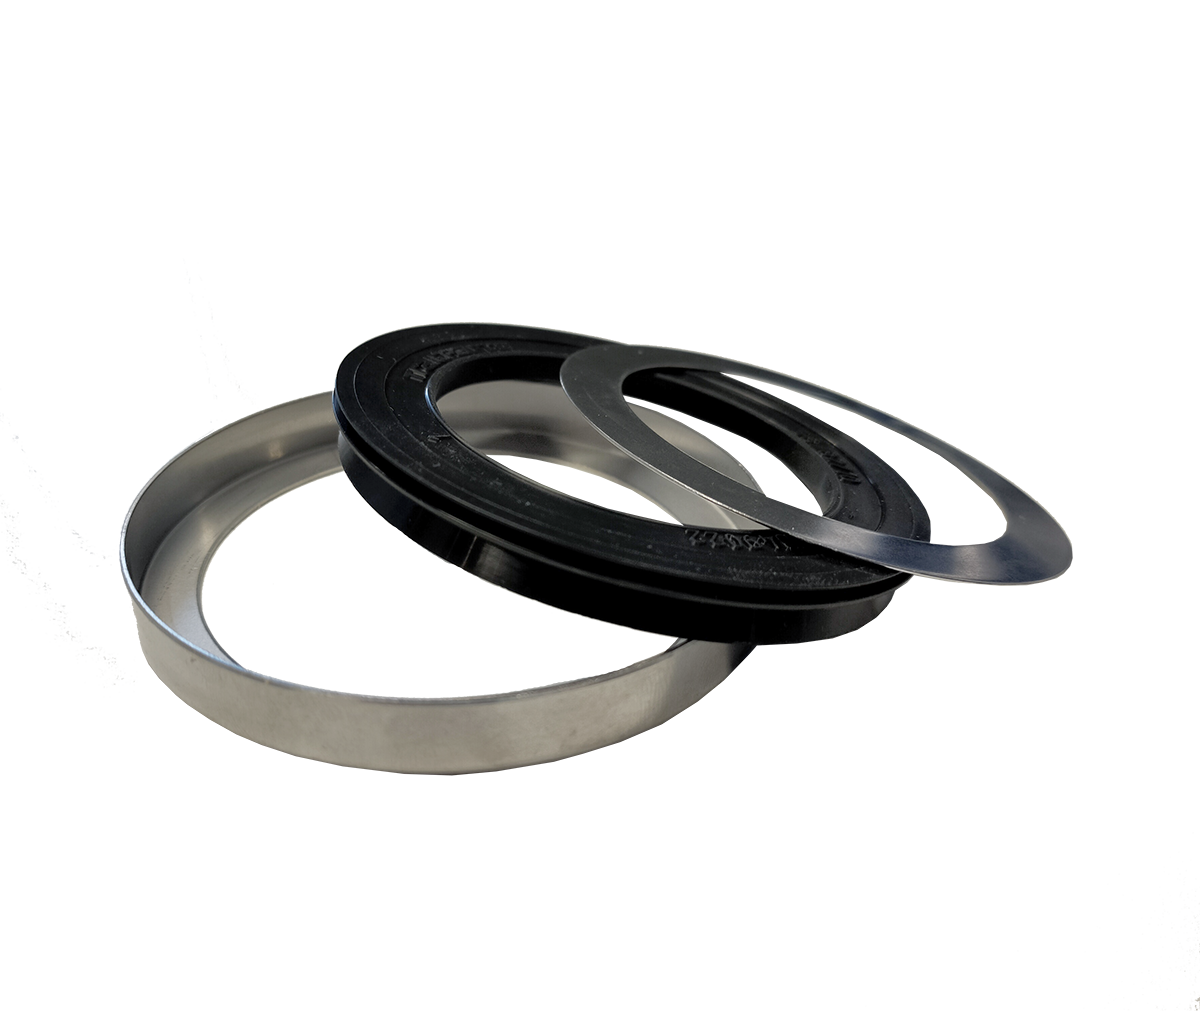
Secondary Seals - Marine
Trailparts have developed a unique triple-lip marine seal specific to Unihub designs, and is a recommended addition and are required in order for the full 18 month warranty cover to be valid (3 year warranty if Trailparts assemble the axle).
» For 1.8T Unihub -
Trailparts part number is AU4901.
» For 3.0T Unihub -
Trailparts part number is AU4902.
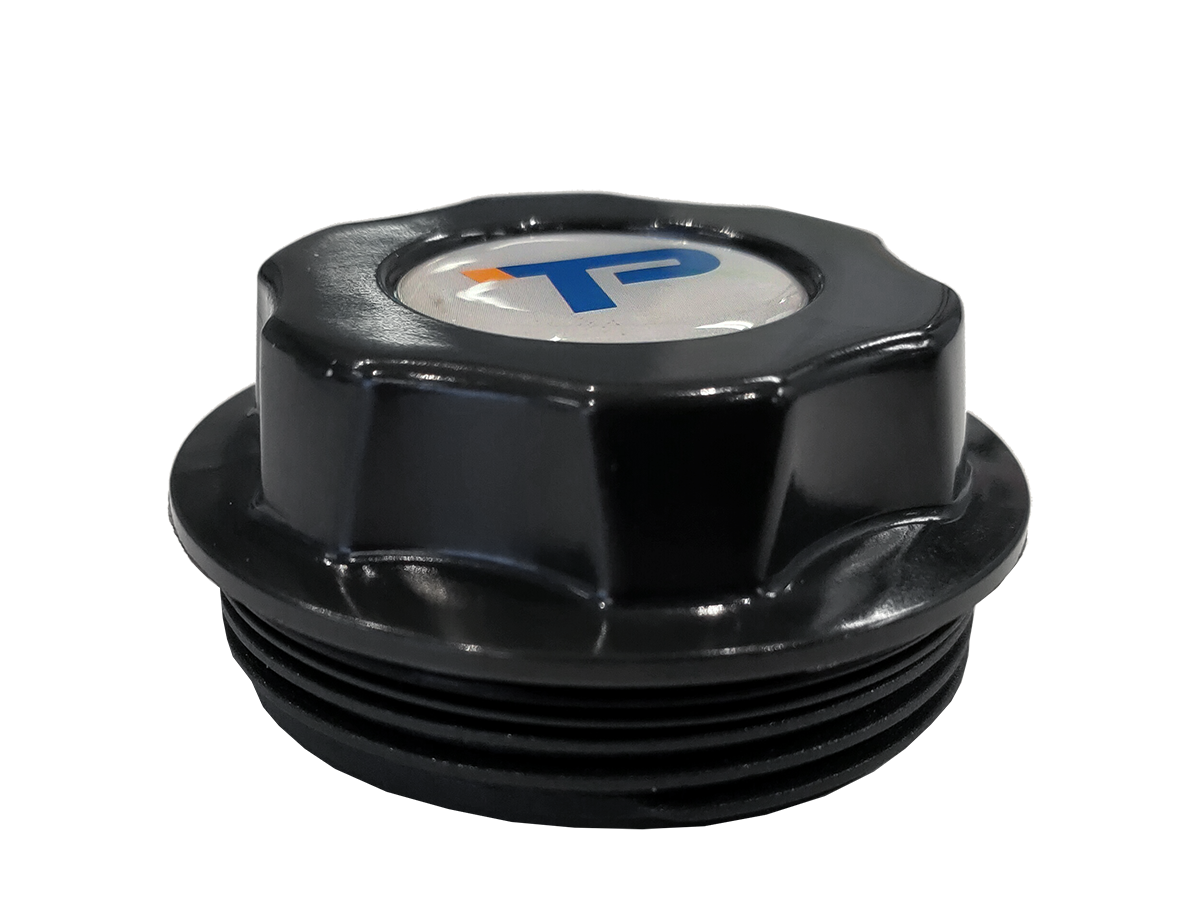
Grease Cap
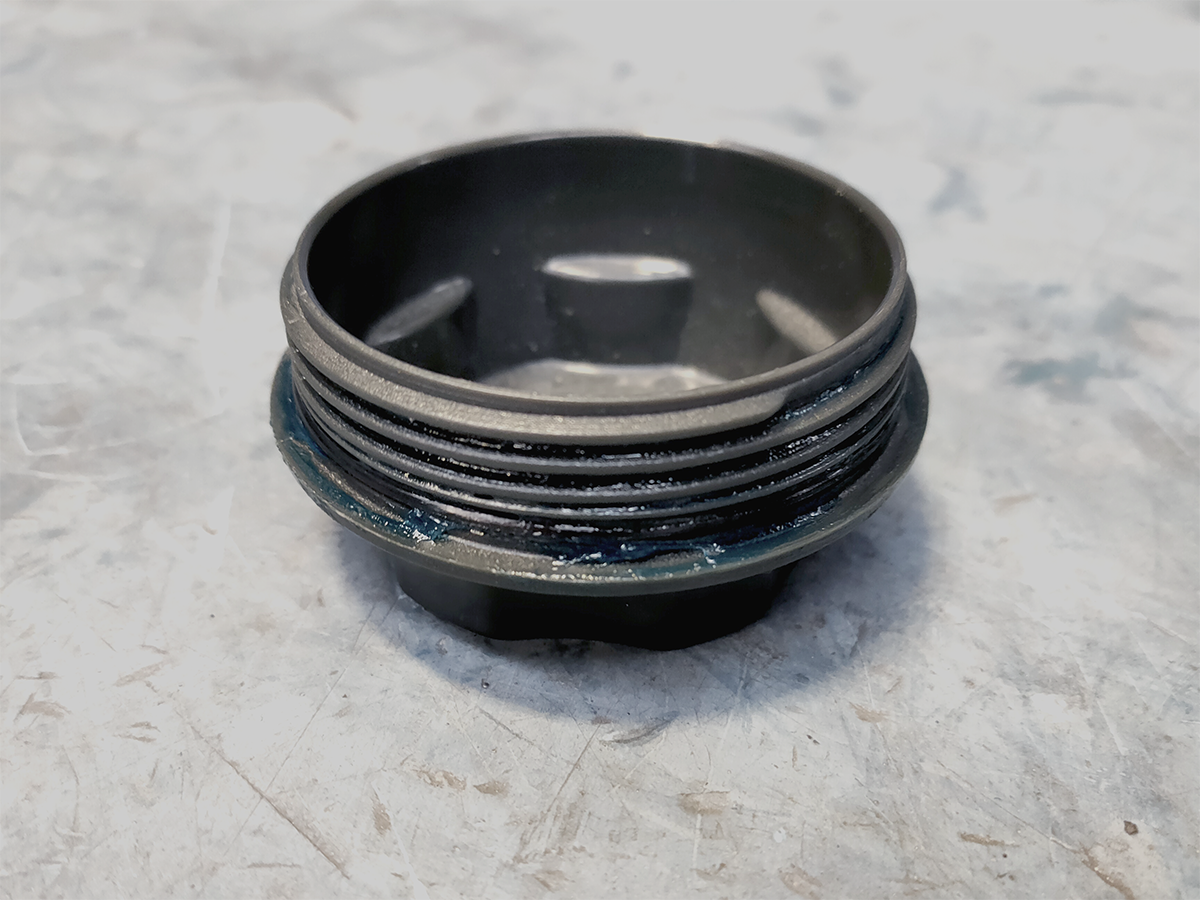
Both Unihub variants take the same screw-in grease cap, which is an injection molded nylon that is impact and UV resistant. The O-ring seal aids waterproofing of the hub and prevents the cap becoming loose. Part number is AU1901.
Note: Knock-in traditional 63.5mm grease caps can be used if desired, but will limit hub warranty to 18 months.
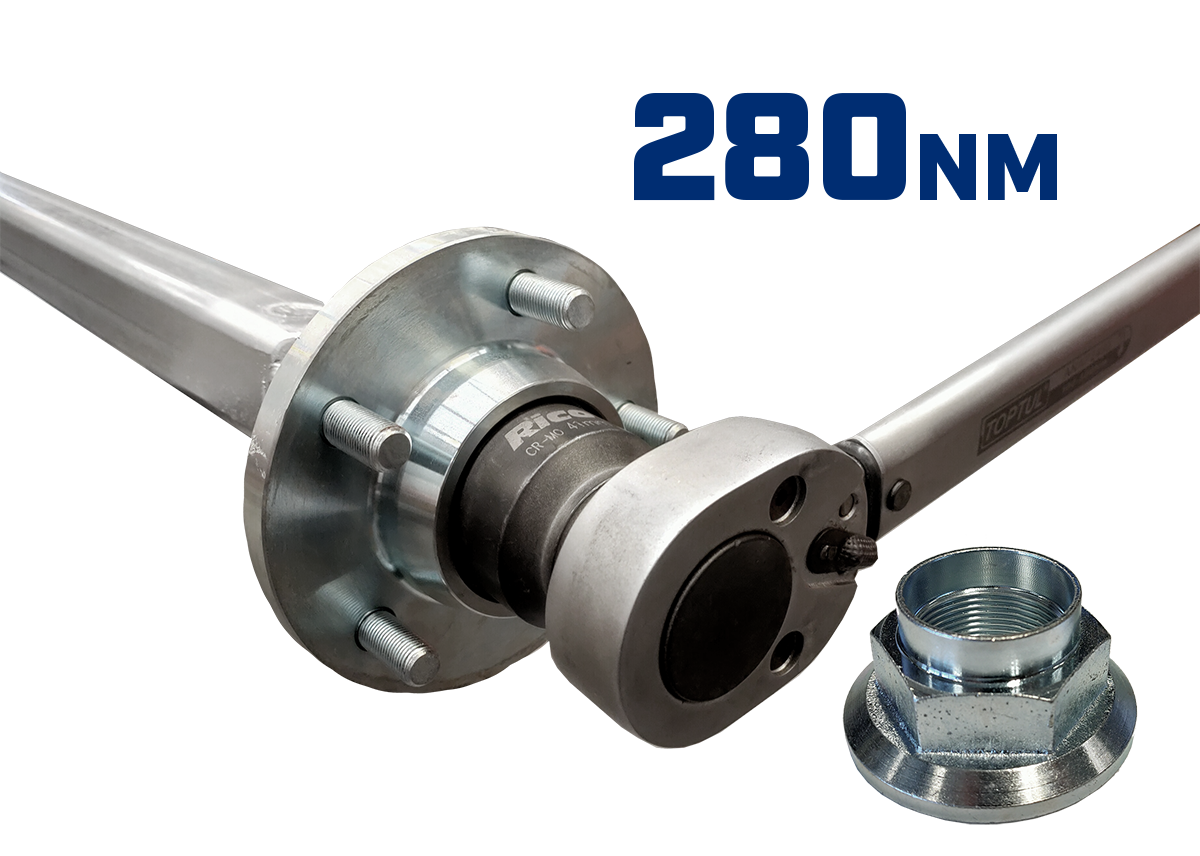
Stake Nut
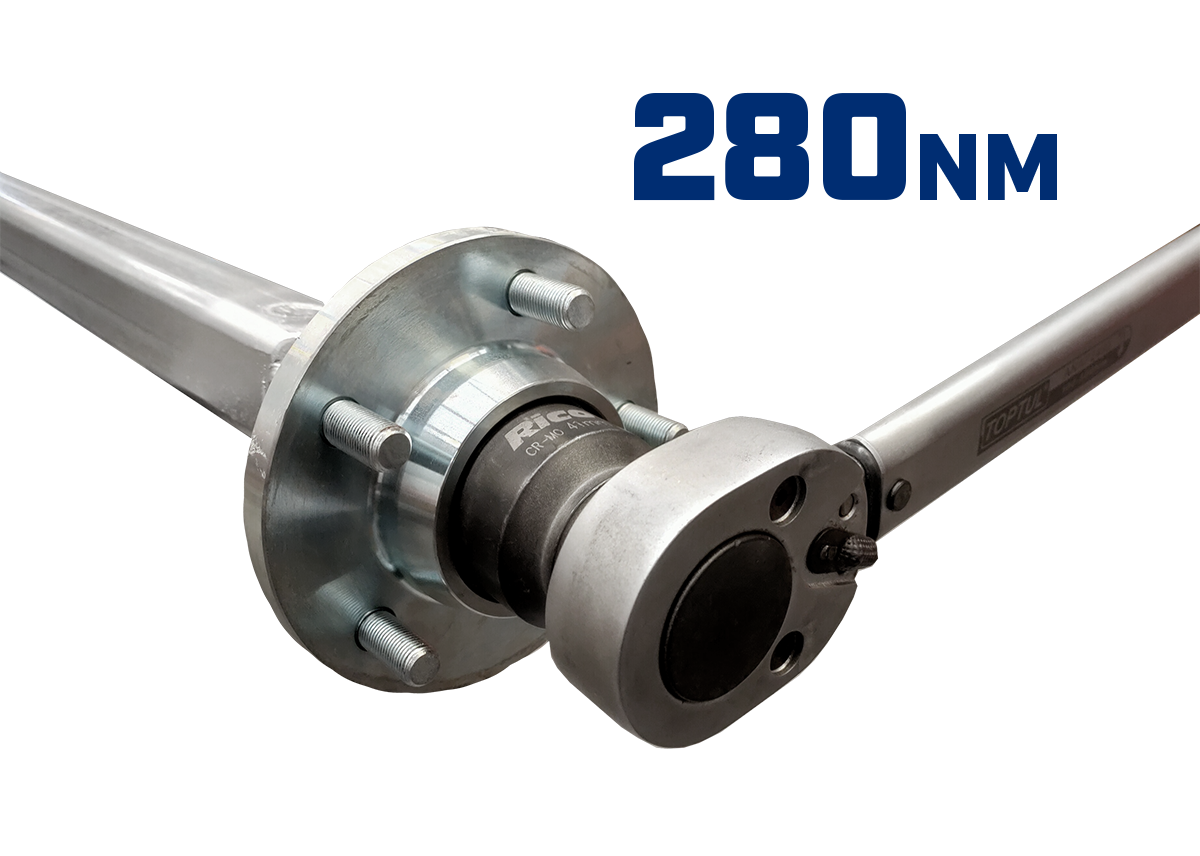
Hubs are secured on the stub by means of a heavy duty M30 flanged stake nut. These are 41mm AF, and torqued to 280Nm. These nuts can be used twice.
» For 1.8T Unihub -
M30 nut with 51mm flange, Trailparts part number is AU2901.
» For 3.0T Unihub -
M30 nut with 59mm flange, Trailparts part number is AU2902.
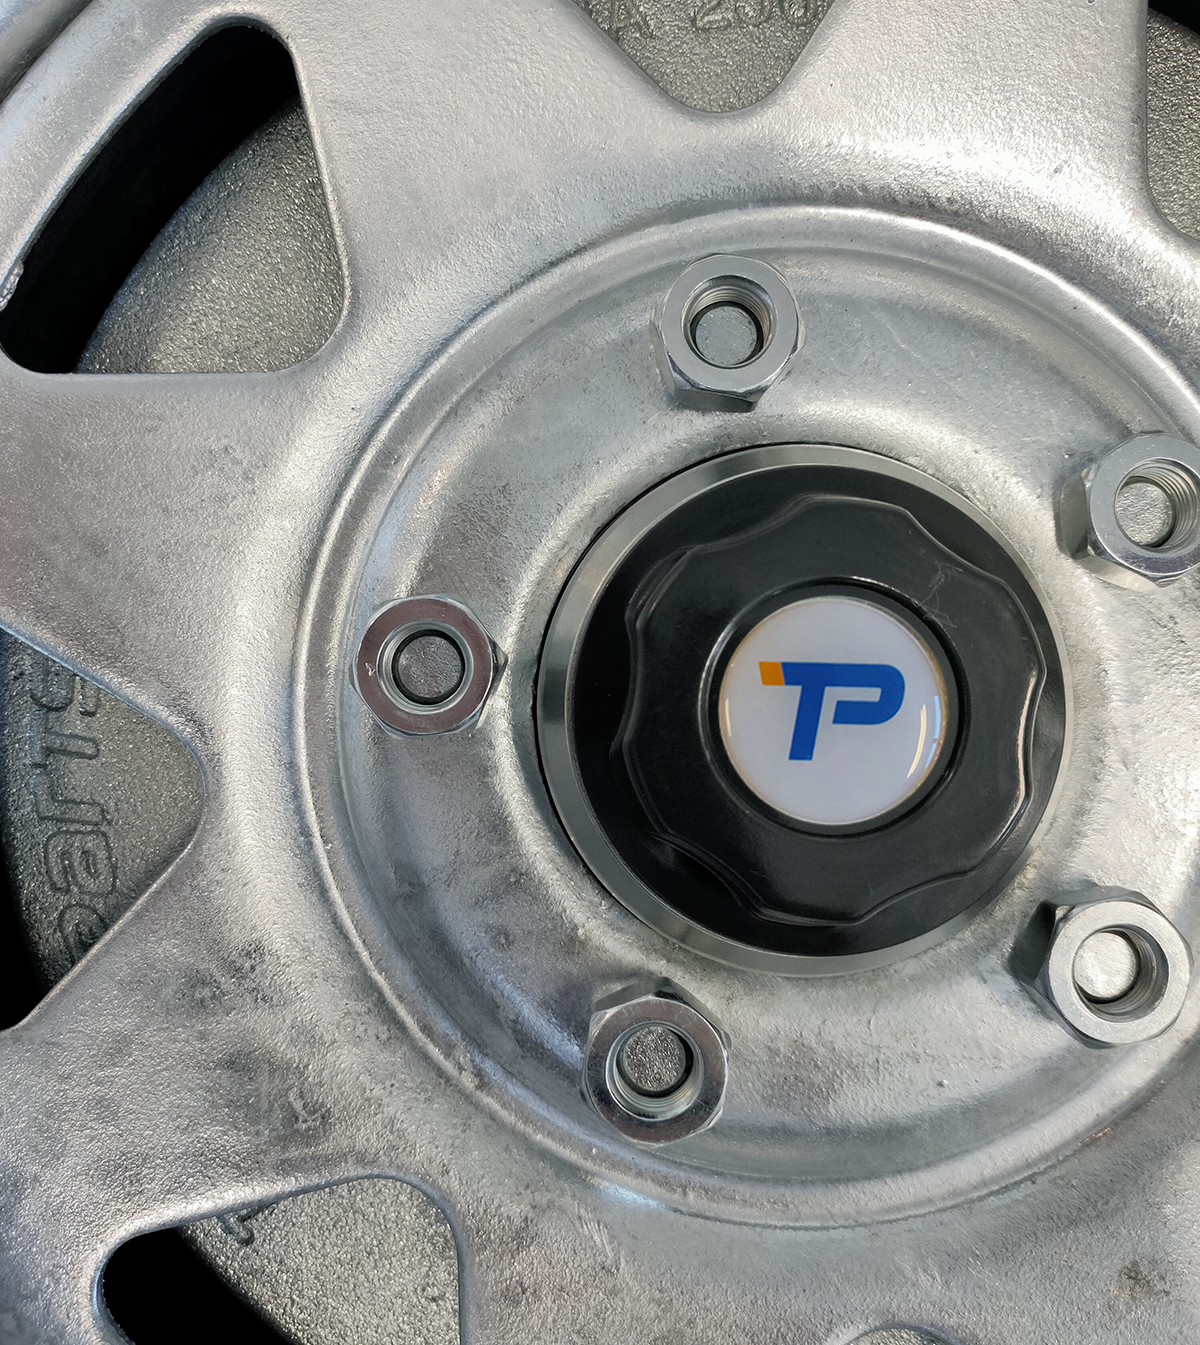
Wheel Studs
Hubs are supplied with wheel studs inserted.
» With 5 x 114.3mm PCD (1.8T only):
» ½” UNF x 38mm. Trailparts part number is H4982.
» With 6 x 139.7mm PCD (1.8T and 3.0T):
» ½” UNF x 53mm. Trailparts part number H4985.
» With 5 x 150mm PCD (3.0T only):
» 9/16” UNF x 52mm. Trailparts part number H4978.
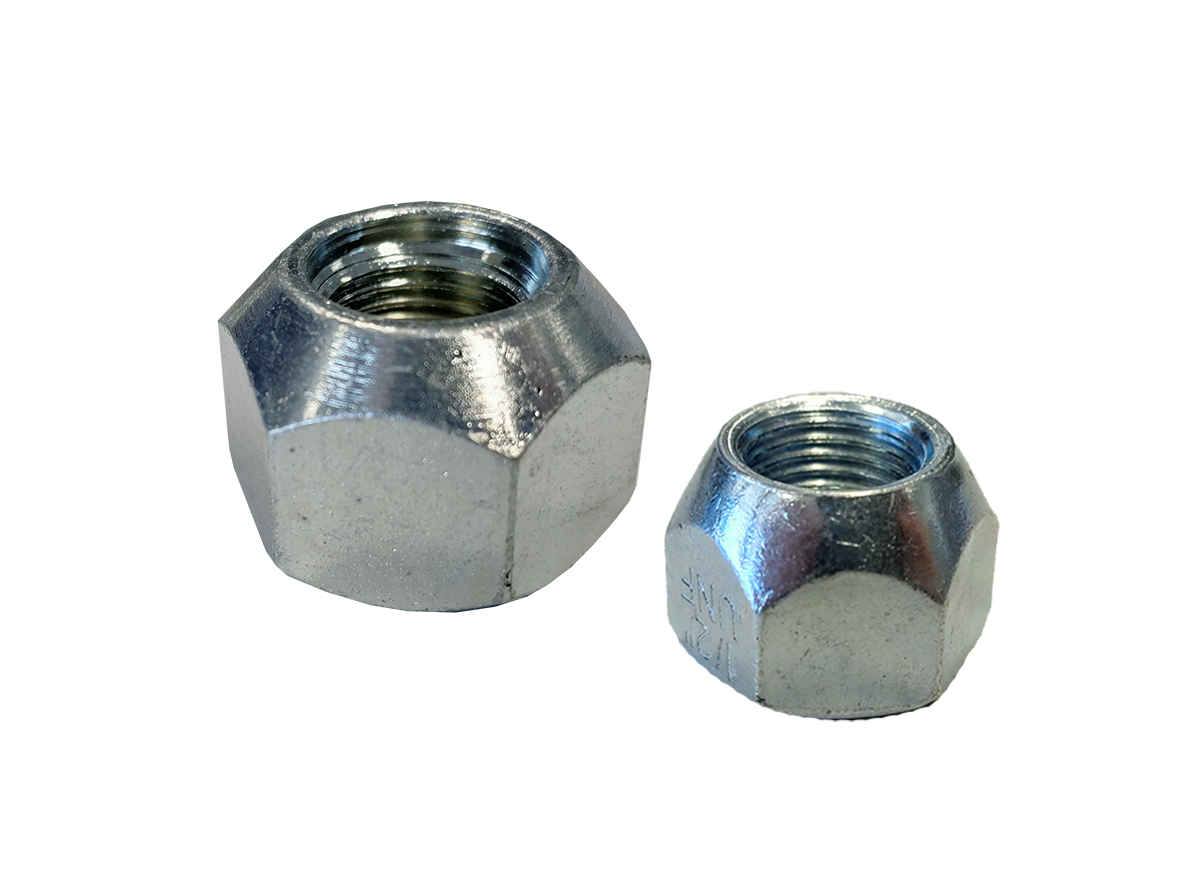
WheelNuts - Steel Wheels
Hubs are secured on the stub by means of a heavy duty M30 flanged stake nut. These are 41mm AF, and torqued to 280Nm. These nuts can be used twice.
» ½” UNF wheelnuts are 60 degree taper, 21mm AF wheelnuts. Trailparts part number H4996.
» 9/16” UNF wheelstuds are 60 degree taper, 23mm AF wheelnuts. Trailparts part number is H4992.
Unihub Assembly
IMPORTANT: ASSEMBLY REQUIREMENTS
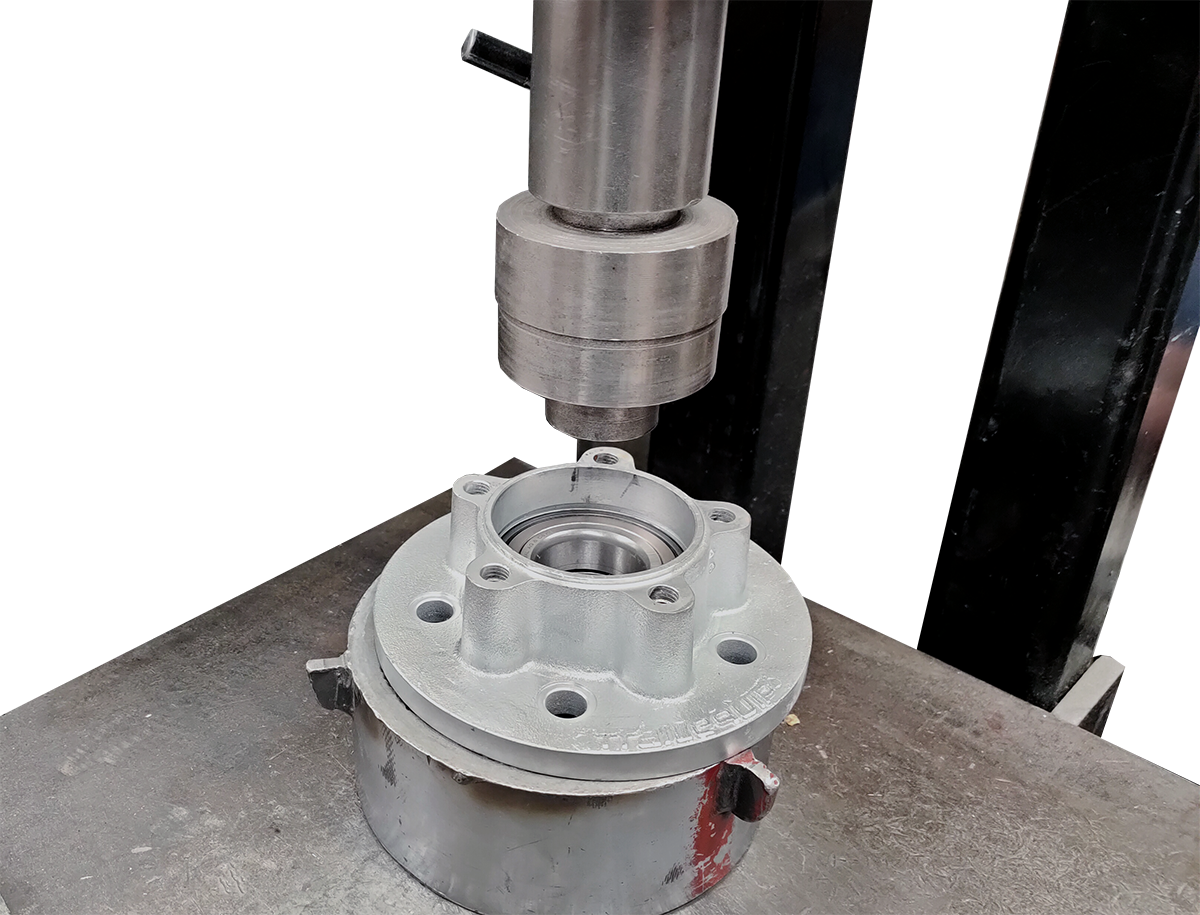
Trailparts recommend that bearings are installed by a professional with the correct tools and equipment. Bearings must be pressed in straight, and while only pressing on their outer ring.
Instructions
➊
Fit Inner Bearing to Hub:
- Smear a small amount of lithium grease onto the bearing OD and hub bearing bore.
- Some bearings have a lead-in taper on one side of them to assist them starting square to the bore. Where this is present, insert that side into the hub first.
- Bearings are interference fit on the hub using a hydraulic press and a steel mandrel designed to land on the outer bearing surface to press the bearing all the way home in the hub.
➋
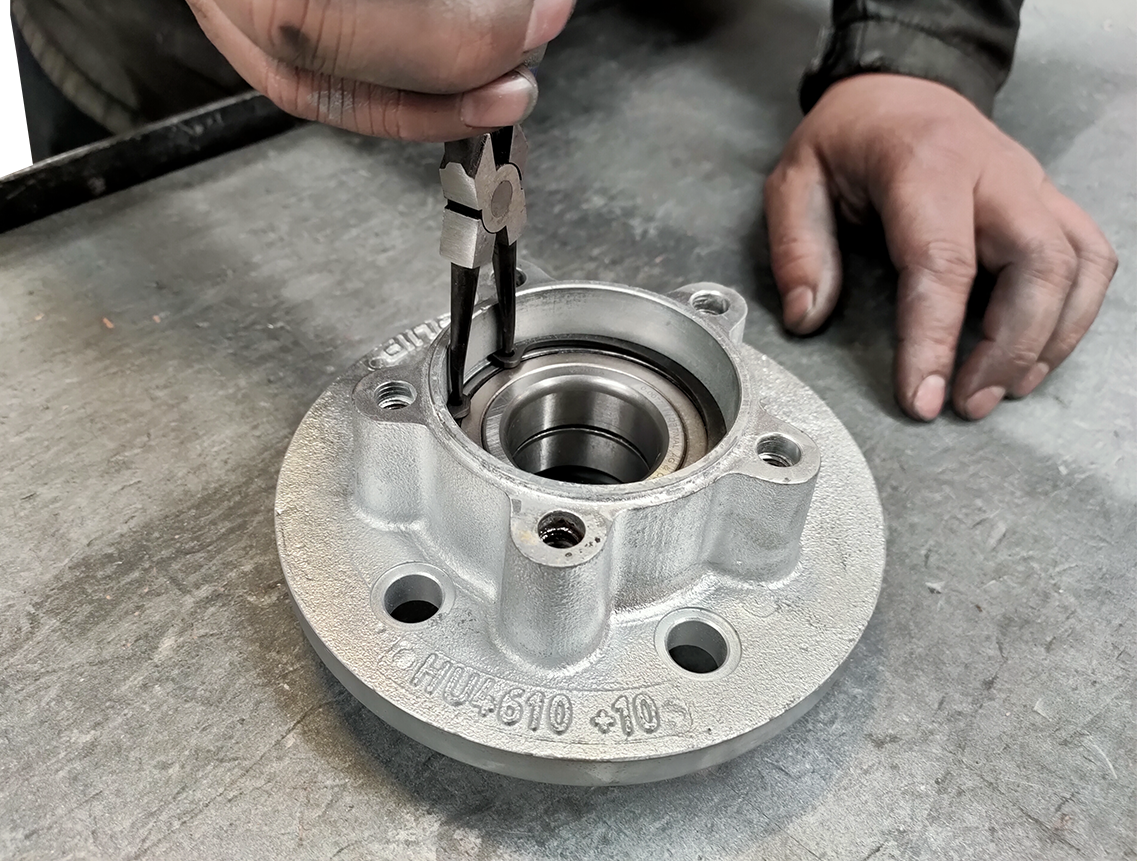
Fit Circlip:
- Smear a small amount of lithium grease on the circlip. This is intended solely as a protection against early rusting of the circlip.
- Using a pair of circlip pliers, install the circlip in behind the bearing. Pay attention to ensure it is fully in the groove.
Take care to ensure that tools with sharp edges do not damage the integral bearing seal.
➌
Fit Seal Wear Ring:
- Insert the seal wear ring cup using a mandrel that fits as close as possible to the outside of it. Press it fully home, and until it rests against the circlip.
- Smear a small amount of lithium grease onto the inner surfaces of the seal ring.
➍
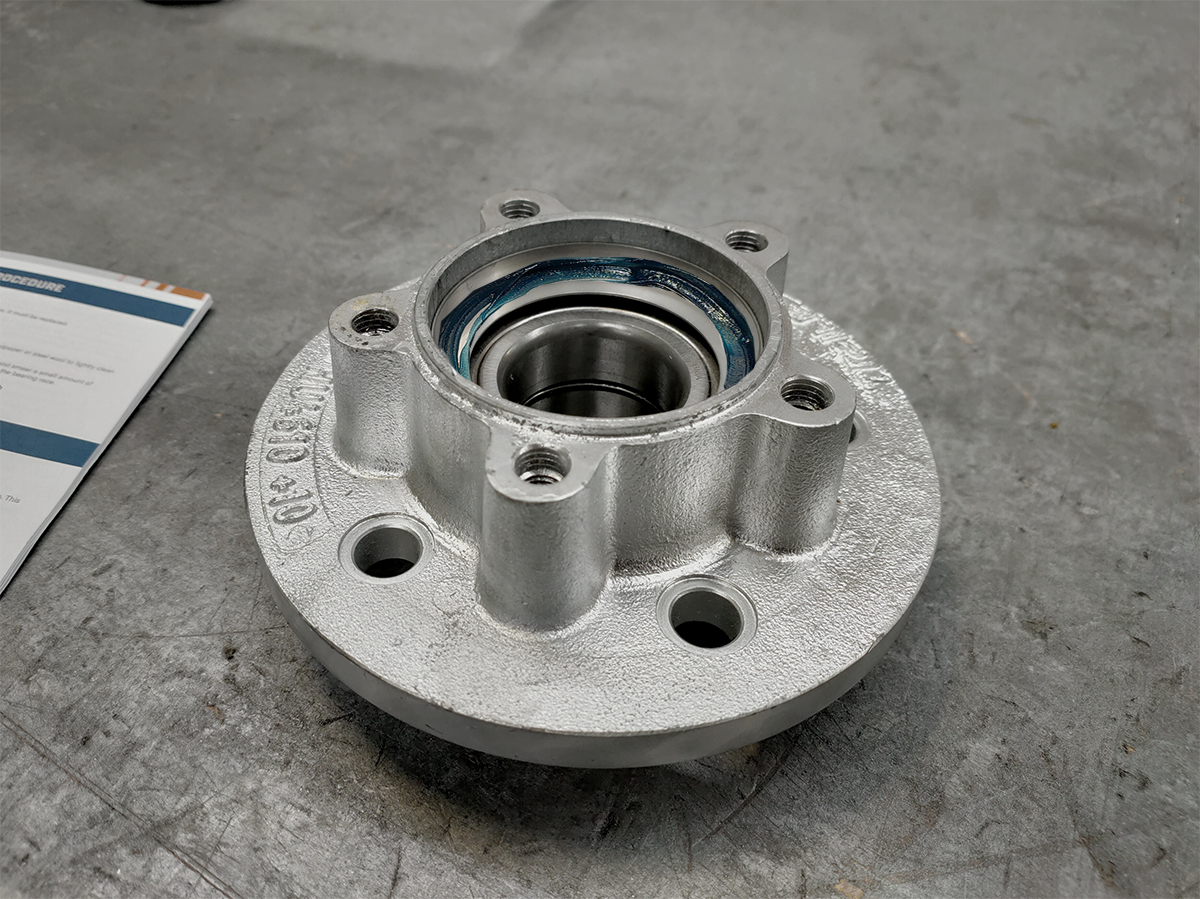
Final Greasing:
- Smear a small amount of grease to the machined and unplated surface inside the nose of the hub. It may be that some of the grease that has pushed out during the pressing of the bearing can be used for this. Greasing like this is intended solely as a protection against surface rust, should only be a light covering, and not be enough to be able to work into the bearing itself.
The hub is now ready to fit to the axle.
Unihub onto Stub Axle
Instructions
➊
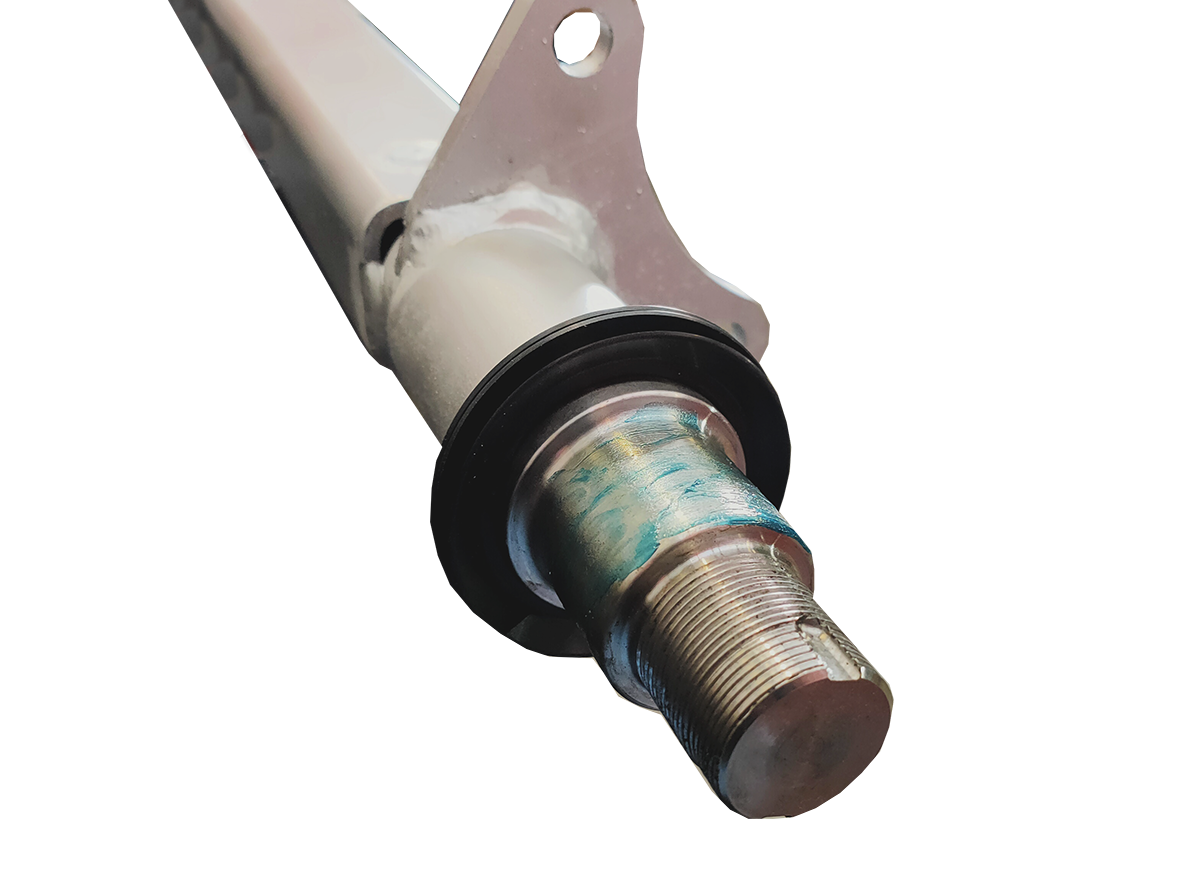
Marine Seal & Washer:
- Clean the seal seat on stub axles and the inner bore of the seal so both are grease free and dry. This ensures maximum friction between seal and stub.
- Fit the flat seal retaining washer against the shoulder on the stub axle.
- Fit seal to stub with seal lips facing toward the threaded end of the stub. When fitting seal to stub, Loctite or gasket compound can be used to reduce friction between contact.
➋
Fit Hub to Stub Axle:
- Apply a thin smear of lithium grease onto the stub shaft to assist hub fitment.
Note: The bearing is a clearance fit to stub. - Put the hub onto the stub axle, taking care to keep it square to the shaft so it slides on easily. (Do not force)
- Check the seal is seated inside the wear ring in the hub and is not distorted in any way. Ensure that the seal enters the hub squarely to avoid damage to the sealing lips.
➌
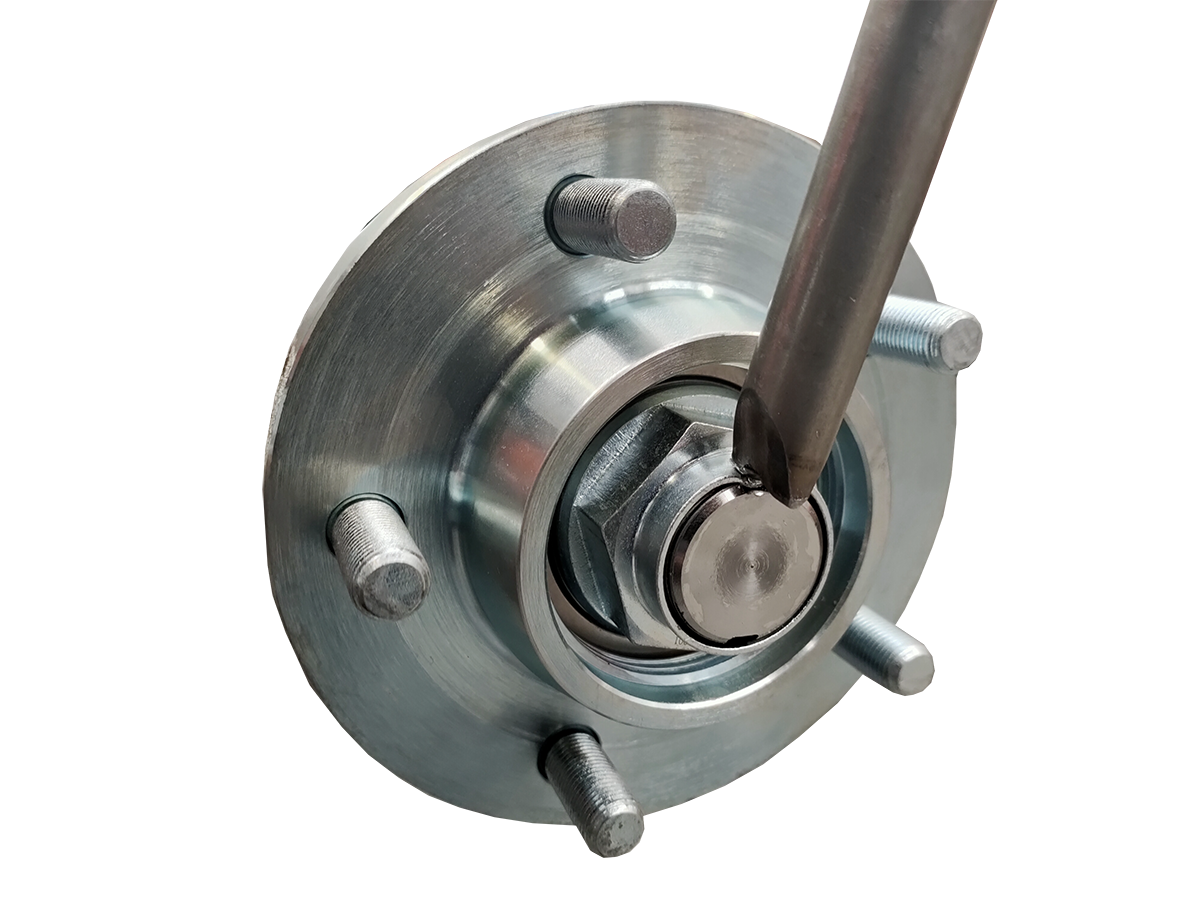
Stake Nut:
- Lube the stub thread with lithium grease.
- Screw the stake nut onto the stub and up against the bearing. Torque stake nut to
280Nm or 205ft/lb.
- Use a flat blunt punch or other suitable blunt tool to carefully deform the stake collar into one of the grooves provided in the stub. Do not stake so hard that the thin stake area of the nut breaks through.
NOTE: If the nut is being used a second time, stake the opposite, undamaged portion of the nut to the one used in the first fitting into the groove on the opposite side of the stub axle. - If both staking positions are deformed from previous use, the stake nut should be replaced.
➍
Dust Cap:
- Very lightly smear lithium grease onto the O-Ring to secure seal.
- Insert the dust cover, taking care to screw it all the way home. A light tighten using a multi-grip tool is recommended, and a light rag or similar can be used under the jaws to prevent damage to the cover.
Note: If there is structural damage on the grease cap it should be replaced.
